
Waterfront properties in Grey Highlands and Georgian Bay are beautiful but can be challenging to plan. Slopes, rocky ground, strong winds, and changing water levels often make it hard to decide where features like patios, paths, and planting beds should go.
Without a clear plan, homeowners may face drainage problems, awkward layouts, or struggling plants. Thoughtful planning helps protect soil stability, support groundwater recharge, and create a landscape that works well with the shoreline. That’s why we came up with steps you can take to make sure you’re looking after what needs attending to.
Step 1: Do A Site Walk And Map The Big Four: Sun, Wind, Water, And Access
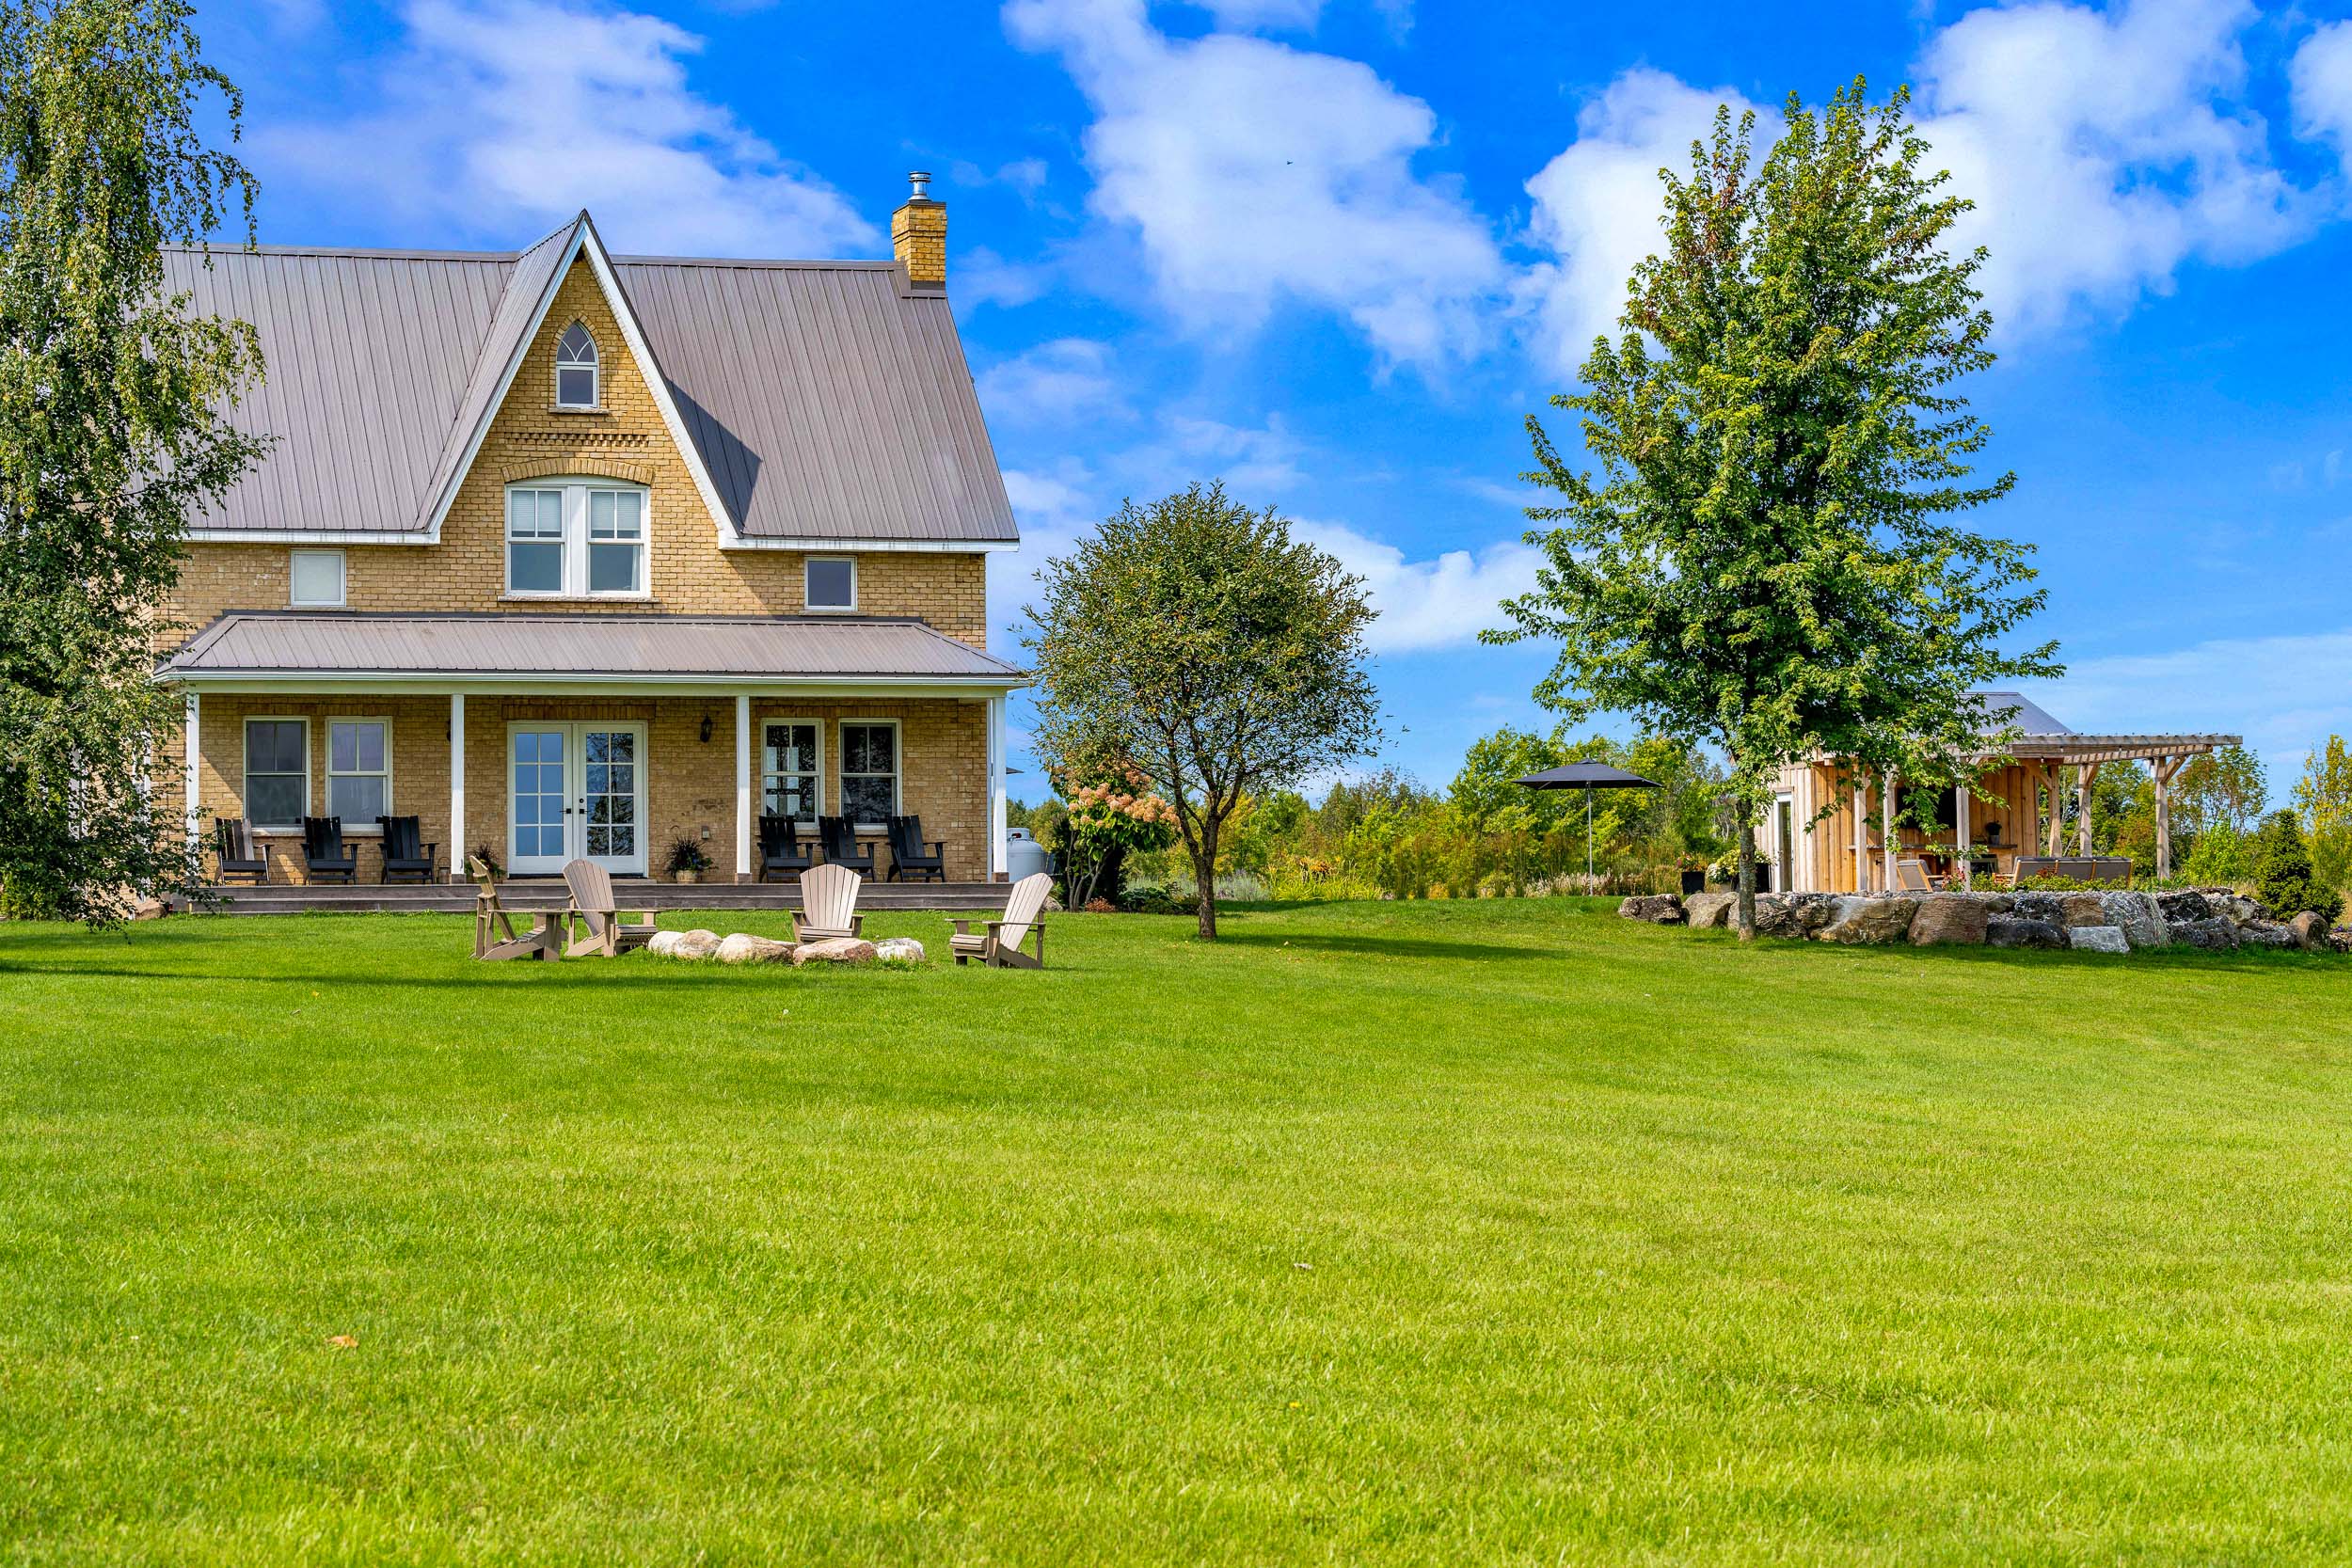
Before drawing anything, spend time walking your property. This step often reveals more than any map or satellite image. Bring a notebook or a printed outline of your lot. As you walk the space, pay attention to four key elements: sunlight, wind exposure, water patterns, and access routes.
- Sunlight changes throughout the day. Notice which areas receive full sun, partial shade, or deep shade. Waterfront properties often have shifting sun patterns due to trees and elevation.
- Wind is also important near Georgian Bay. Look for areas that feel sheltered and spots that receive stronger gusts. Wind can influence plant choices and the comfort of patios or seating areas.
- Water patterns matter just as much. Watch for low spots, wet areas, and natural drainage paths after rainfall to understand how water moves across the property.
- Access is another important detail to observe. Notice how people naturally walk through the space and which routes connect the house, garden, and shoreline.
These early observations help guide how to draw landscape design plans that reflect real site conditions. They also answer a common question: what is landscape design? It is the thoughtful planning of outdoor spaces so land, plants, and people work well together.
Step 2: Identify Soil Type Fast And Note Drainage Behaviour
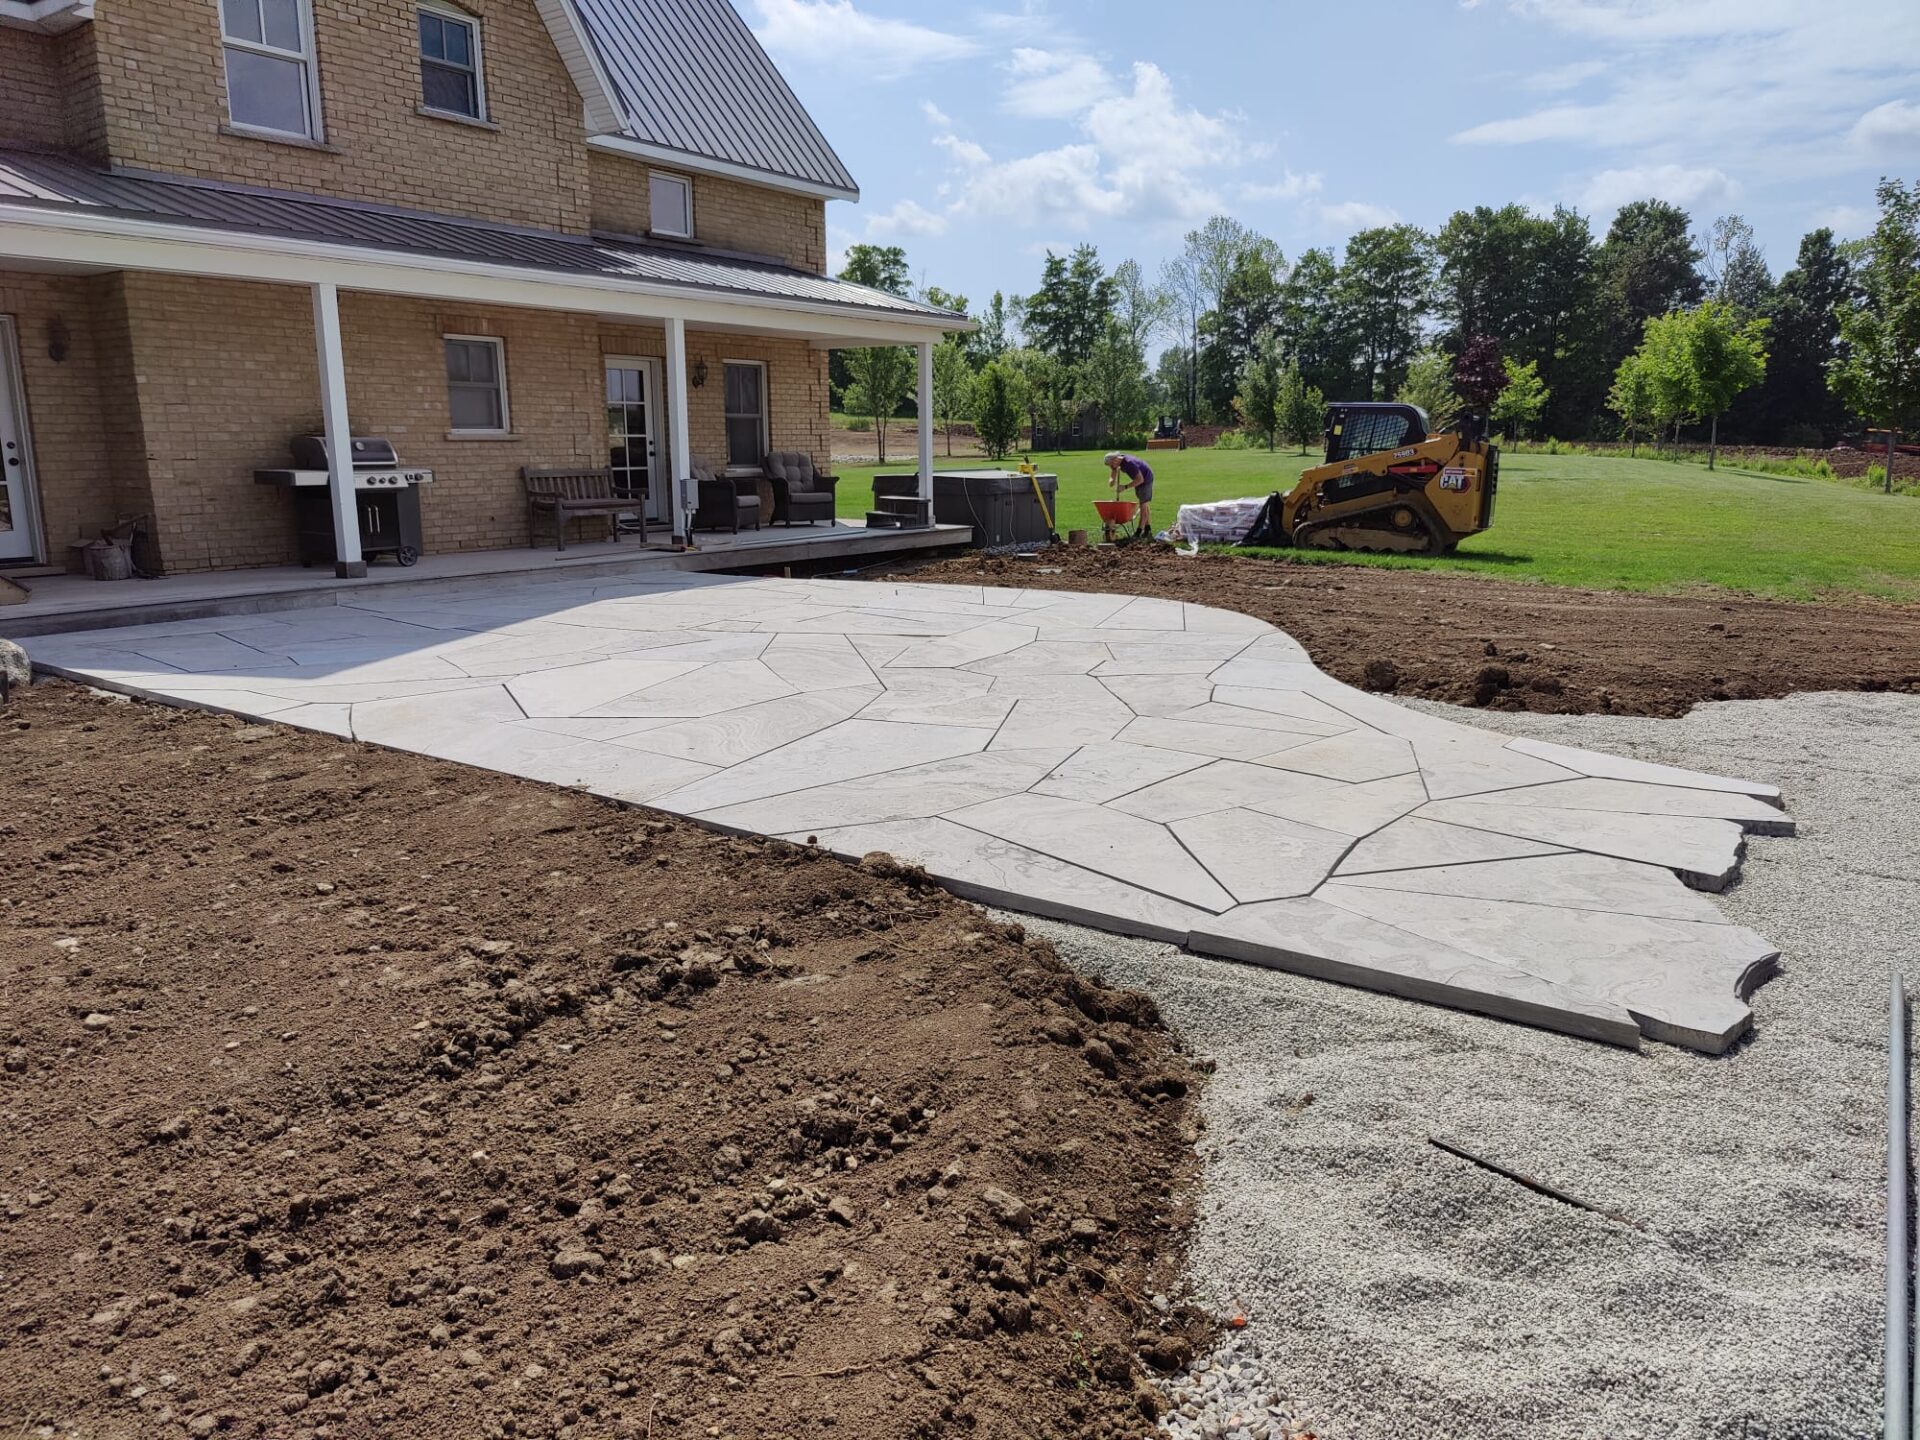
Soil determines what will thrive in your garden. Knowing whether you have clay, sandy, or mixed soil helps guide plant choices and drainage planning. A quick soil test is simple. Dig a small hole and take a handful of moist soil. Roll it between your fingers.
Clay soil feels sticky and forms a firm ball. It holds water longer and drains slowly. Sandy soil feels gritty and falls apart quickly. It drains fast but may struggle to hold nutrients. Many waterfront properties contain a mix of sandy soil and rocky ground. Some areas may also have clay pockets that collect water after rain. Note where water lingers after storms, as these spots may need better drainage or plants that handle wetter soil. Understanding soil conditions helps prevent future problems and supports healthy gardens, especially when using compost, natural bark mulch, and native plants.
Step 3: Sketch Grades And Water Movement
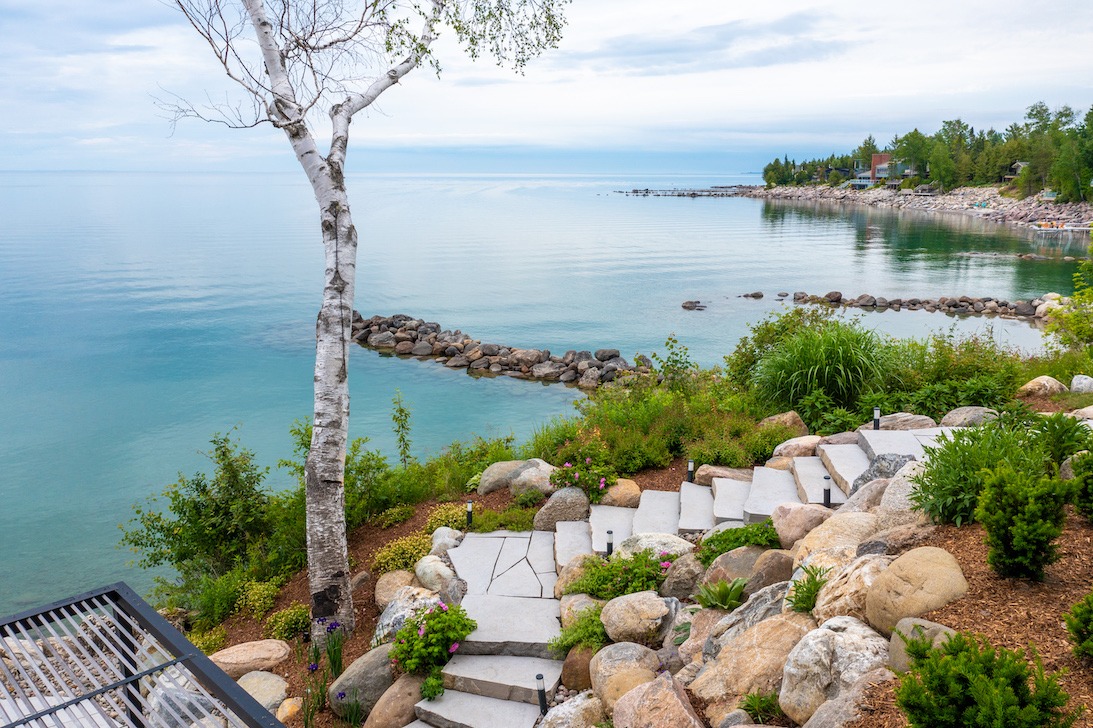
Complex properties often include slopes, ridges, and uneven terrain. Instead of seeing these features as obstacles, think of them as natural guides for your design. Start by sketching the basic elevation changes across your property. Mark high points, slopes, and flatter areas. Next, observe how water moves during rain. Ask yourself a few simple questions:
- Where does water collect?
- Which direction does it travel?
- Does it flow toward the shoreline or away from it?
- Are there spots where erosion appears?
Understanding water movement is important when learning how to draw landscape design plans for sloped properties. Instead of stopping water, the goal is to guide it gently through the landscape. Thoughtful grading can direct rainwater into planting beds or infiltration areas so it returns to the water table naturally. This helps keep plant roots healthy and reduces soil erosion.
Step 4: Draw Zones For Outdoor Living, Recreation, And Quiet Corners
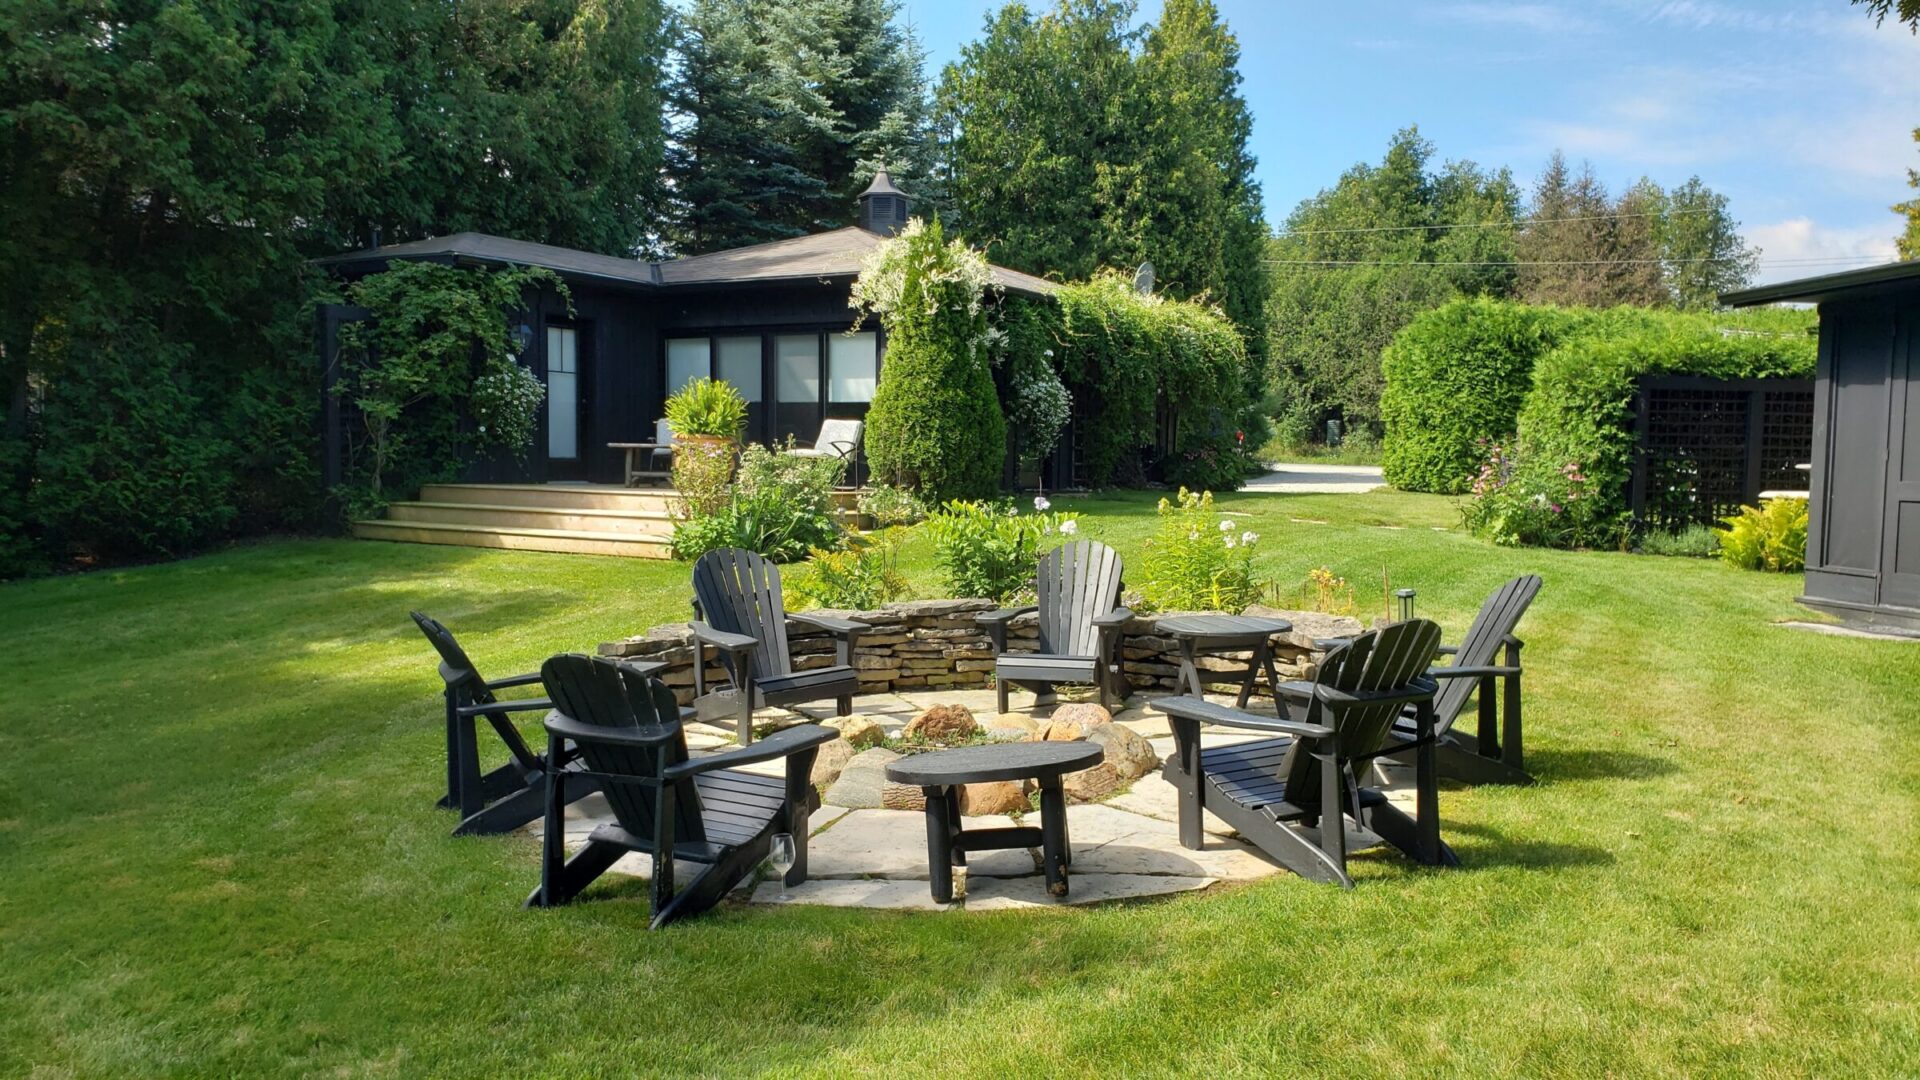
Once you understand your site conditions, begin dividing the property into functional zones. Think about how you want to use your outdoor space. Most landscapes benefit from a balance of activity areas and quiet retreats. Common zones include:
- Outdoor dining or patio space
- Recreation areas for gatherings or games
- Garden beds and planting areas
- Private seating corners
- Access paths to the waterfront
Mapping zones helps simplify the process of how to design a landscape plan. Instead of designing everything at once, you focus on individual sections that connect together. Some homeowners prefer a hands-on approach. If you enjoy planning outdoor spaces yourself, this stage often becomes the heart of do it yourself landscape design.
Draw rough outlines showing how each zone relates to the others. Keep pathways natural and allow views to remain open where possible. A thoughtful layout creates a landscape that feels organized without looking rigid.
Step 5: Place Big Features First: Pools, Pergolas, Shade, And Fire Areas
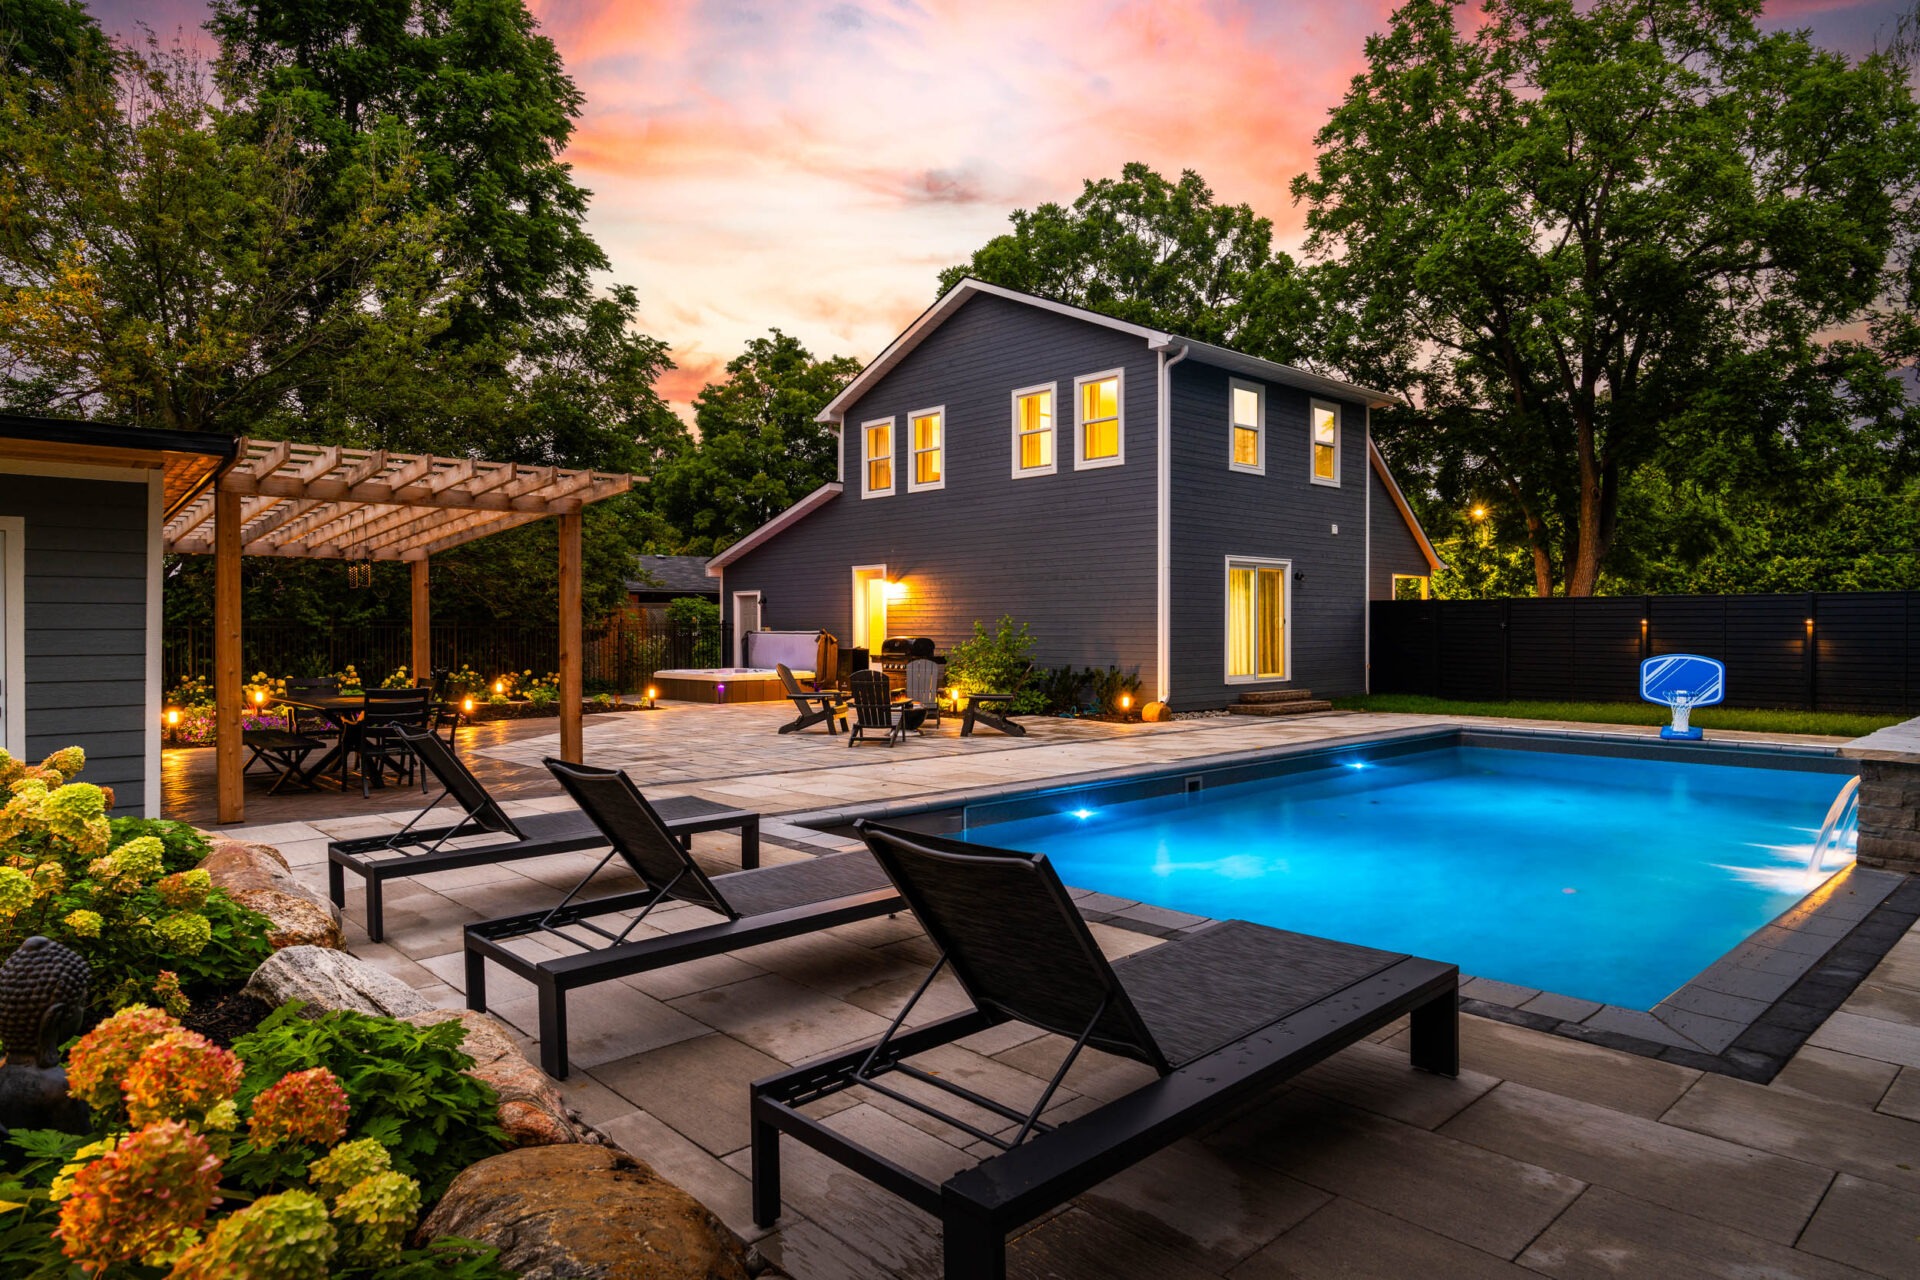
Large features should appear early in your planning process. Items such as pools, pergolas, shade structures, and fire features influence the rest of the landscape layout. Their placement affects views, circulation paths, and planting zones.
Begin by identifying the most practical location for each major feature. Consider sunlight, wind exposure, and proximity to the home. For example, a pergola often works well near a patio where afternoon shade is welcome. Fire features benefit from areas sheltered from strong wind.
Placing these elements early makes it easier to draw landscape design plans because the rest of the layout can build around them. On waterfront properties, it is also important to respect natural drainage so water moves away from structures and toward infiltration areas. This approach allows your design to remain both functional and environmentally thoughtful.
Step 6: Plan Privacy Screens And View Corridors
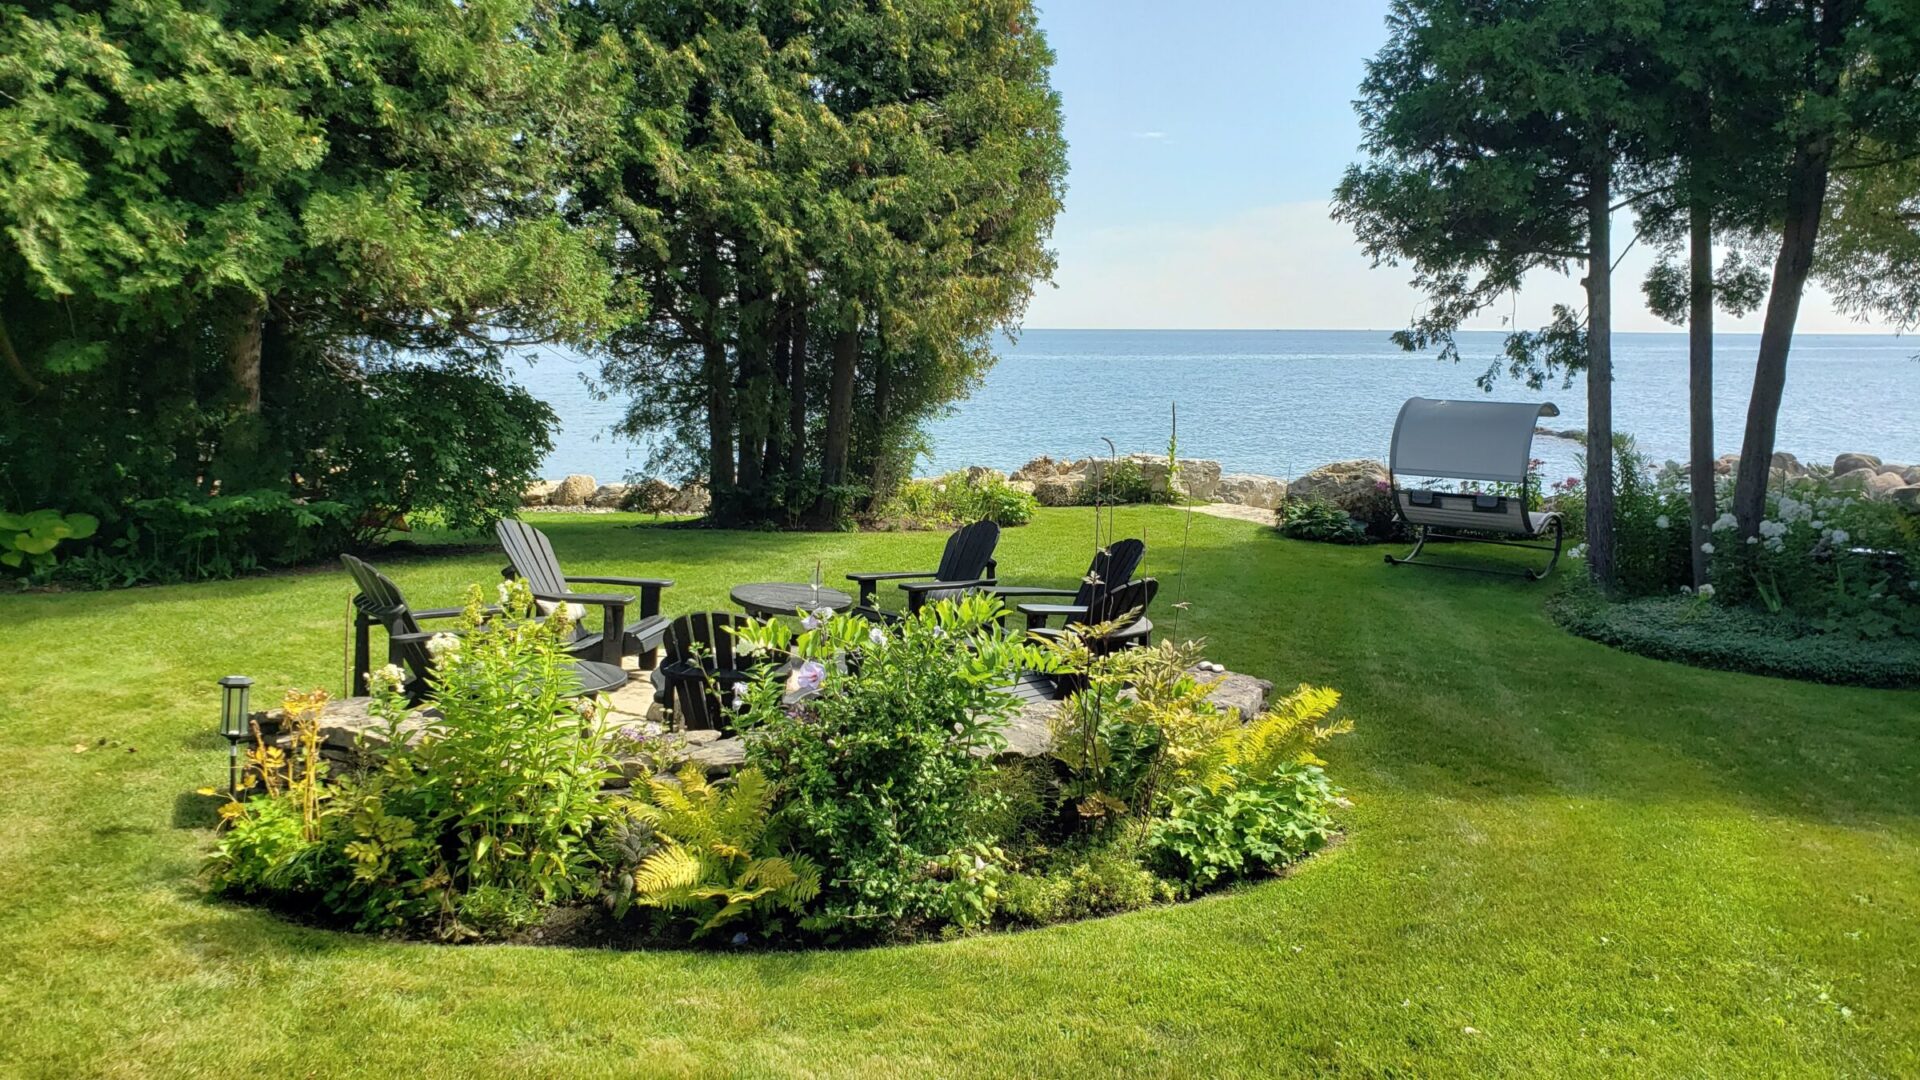
One of the most enjoyable aspects of waterfront living is the view. However, you may also want privacy from neighbours or nearby roads. Fortunately, both goals can work together. Start by marking key sightlines from windows, patios, and seating areas. These are your view corridors. Keep them open so you can enjoy the scenery.
Next, identify areas where privacy is needed. These might include property boundaries, driveway approaches, or neighbouring homes. Natural screens work beautifully in these areas. Layers of native shrubs, ornamental grasses, and small trees create privacy while supporting local wildlife. This balance is helpful when learning how to design estate landscaping. Larger properties often include long sightlines, open lawns, and several outdoor living areas, so thoughtful screening helps maintain privacy while keeping important views open. Strategic planting creates a landscape that feels open yet protected.
Step 7: Add Paths, Steps, And Terraces For Sloped Or Rocky Sites
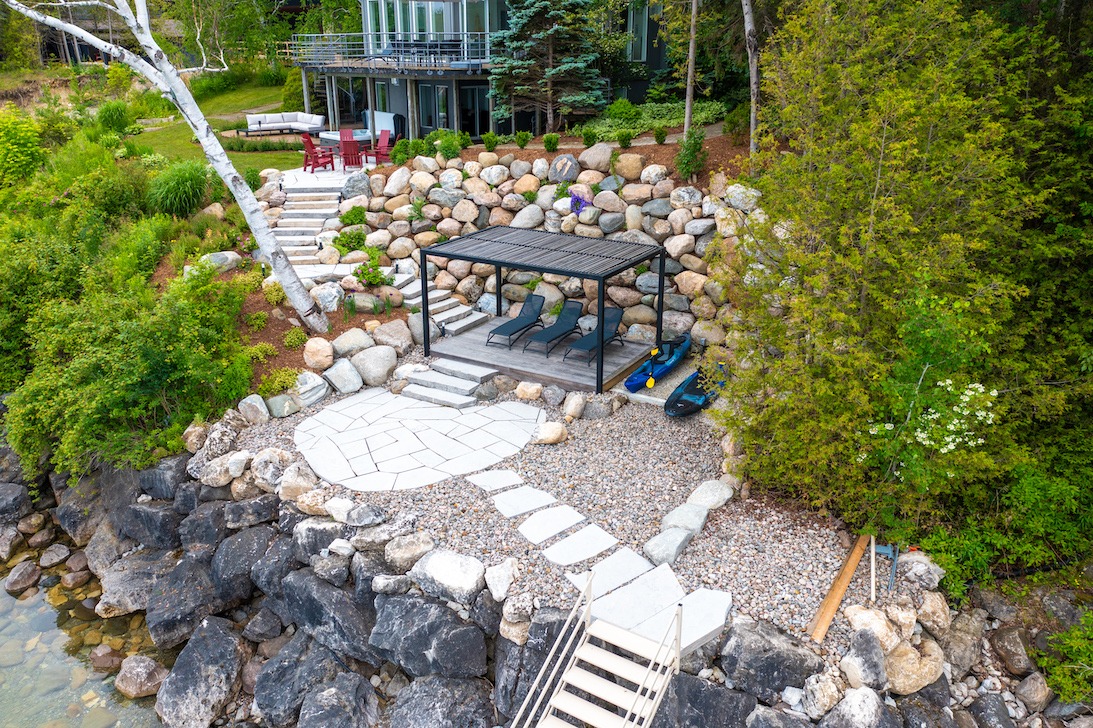
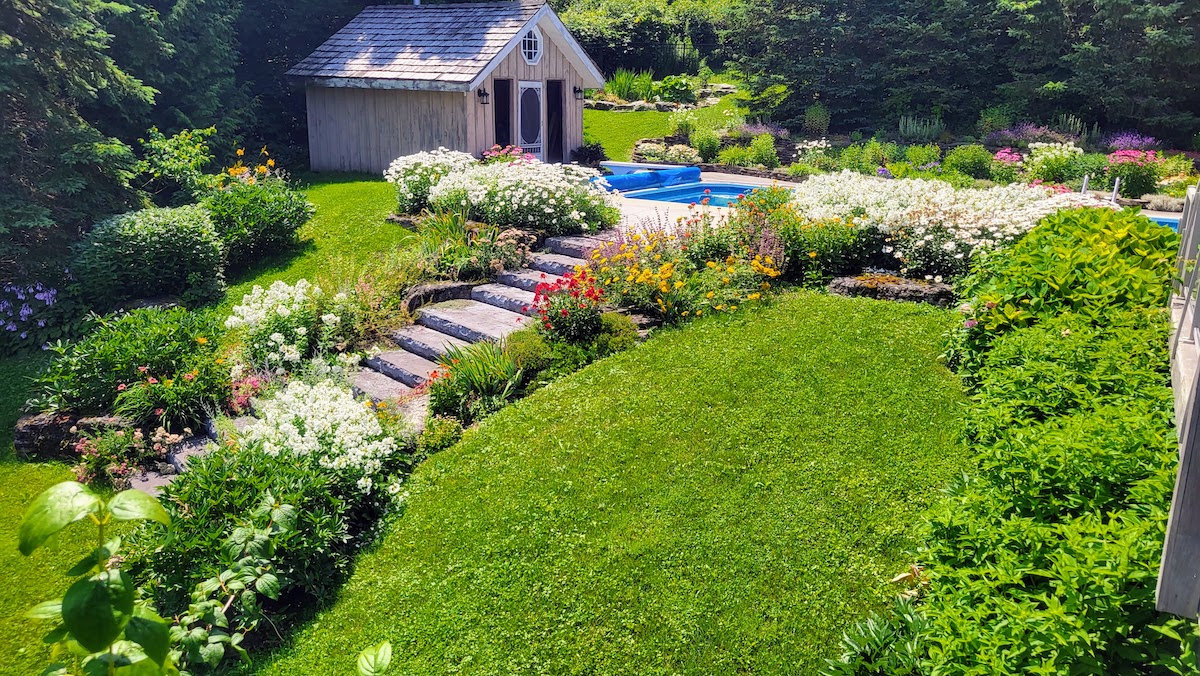
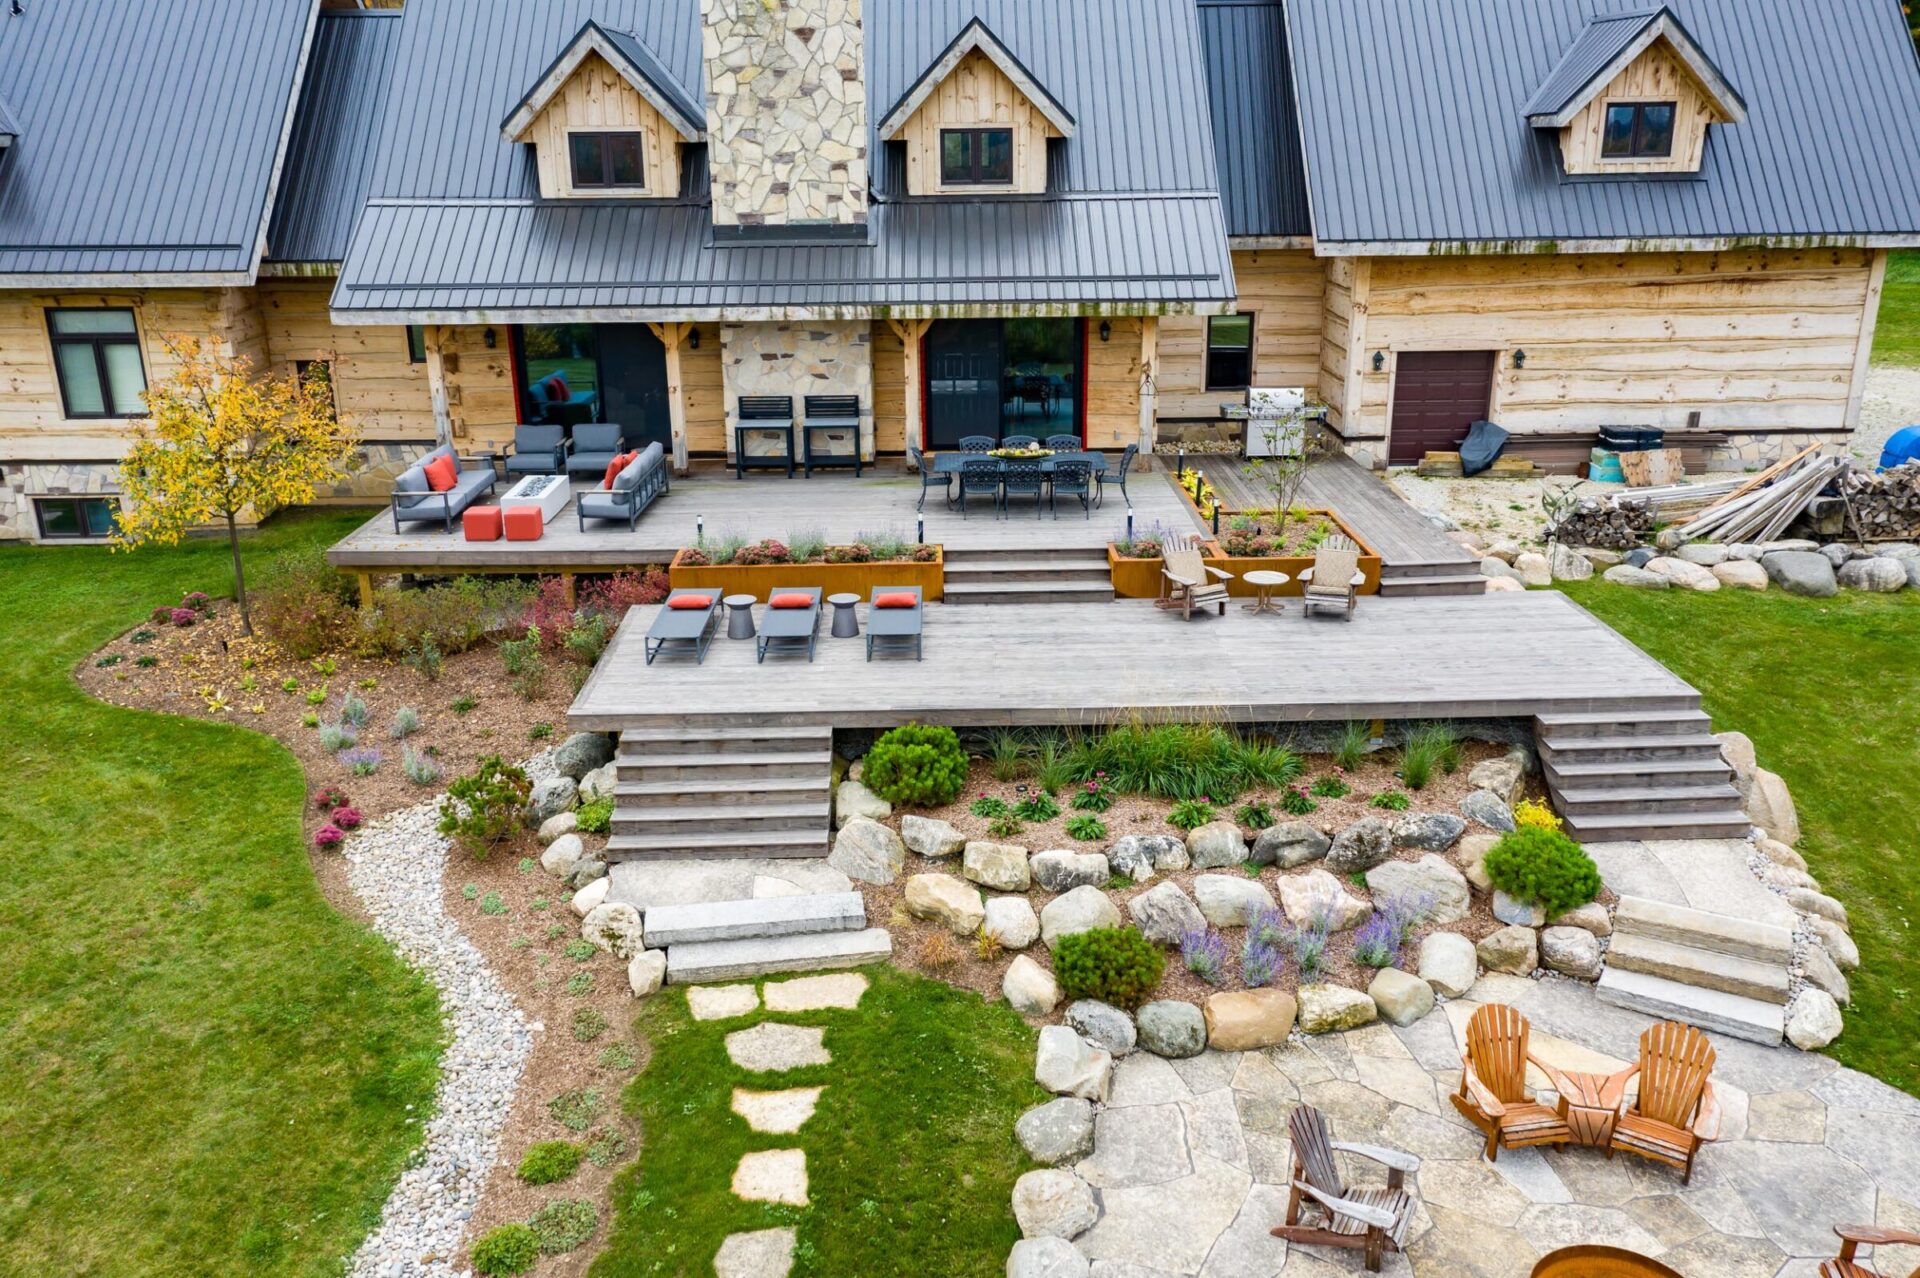
Many properties in Grey Highlands and Georgian Bay include rocky slopes or uneven terrain. Instead of flattening everything, use the land’s natural shape as inspiration. Terraces are helpful for creating usable spaces on slopes. They form level areas for gardens, patios, or seating zones while controlling erosion. Paths guide movement across the landscape. Curved paths often feel more natural than straight ones and allow visitors to experience different views as they move through the property. Stone steps can connect terraces and higher elevations. These features provide safe access while blending naturally into rocky surroundings.
While planning pathways, consider how visitors will move between key areas such as the house, gardens, and waterfront. Carefully planned circulation routes help your design feel connected and easy to navigate. At this stage, many homeowners benefit from exploring additional planning strategies. You may find it helpful to read our guide: “How to Design a Landscape Plan for Unique Properties“.
Step 8: Layer Planting For Dynamic Softscaping
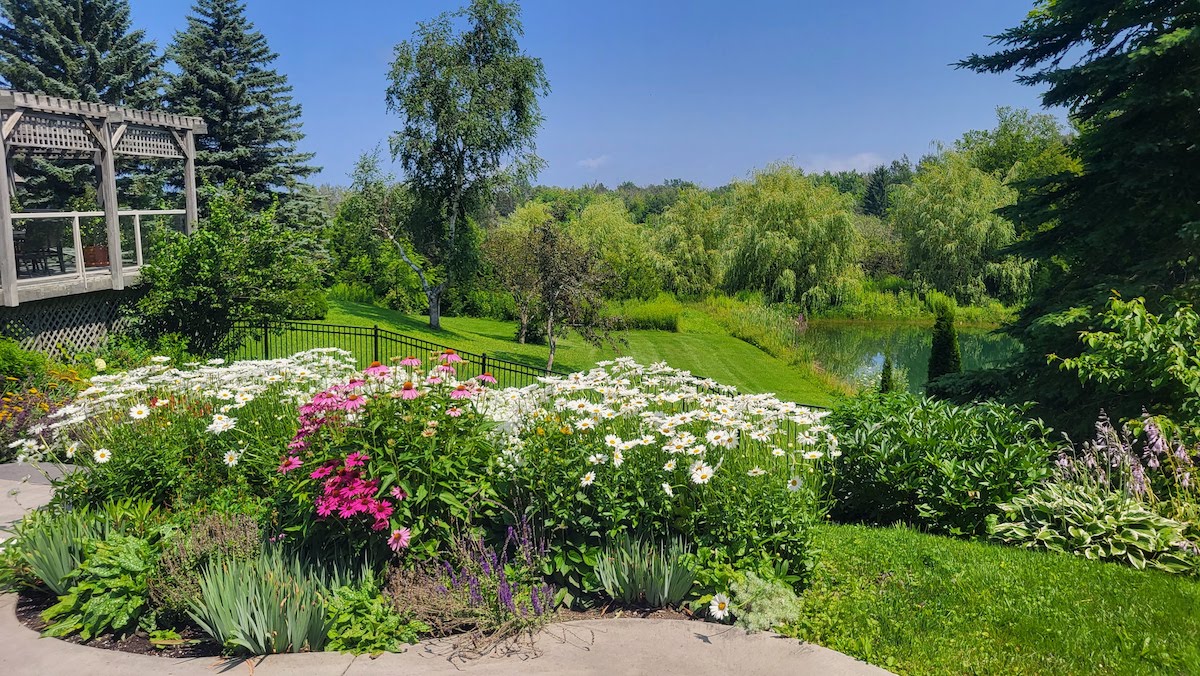
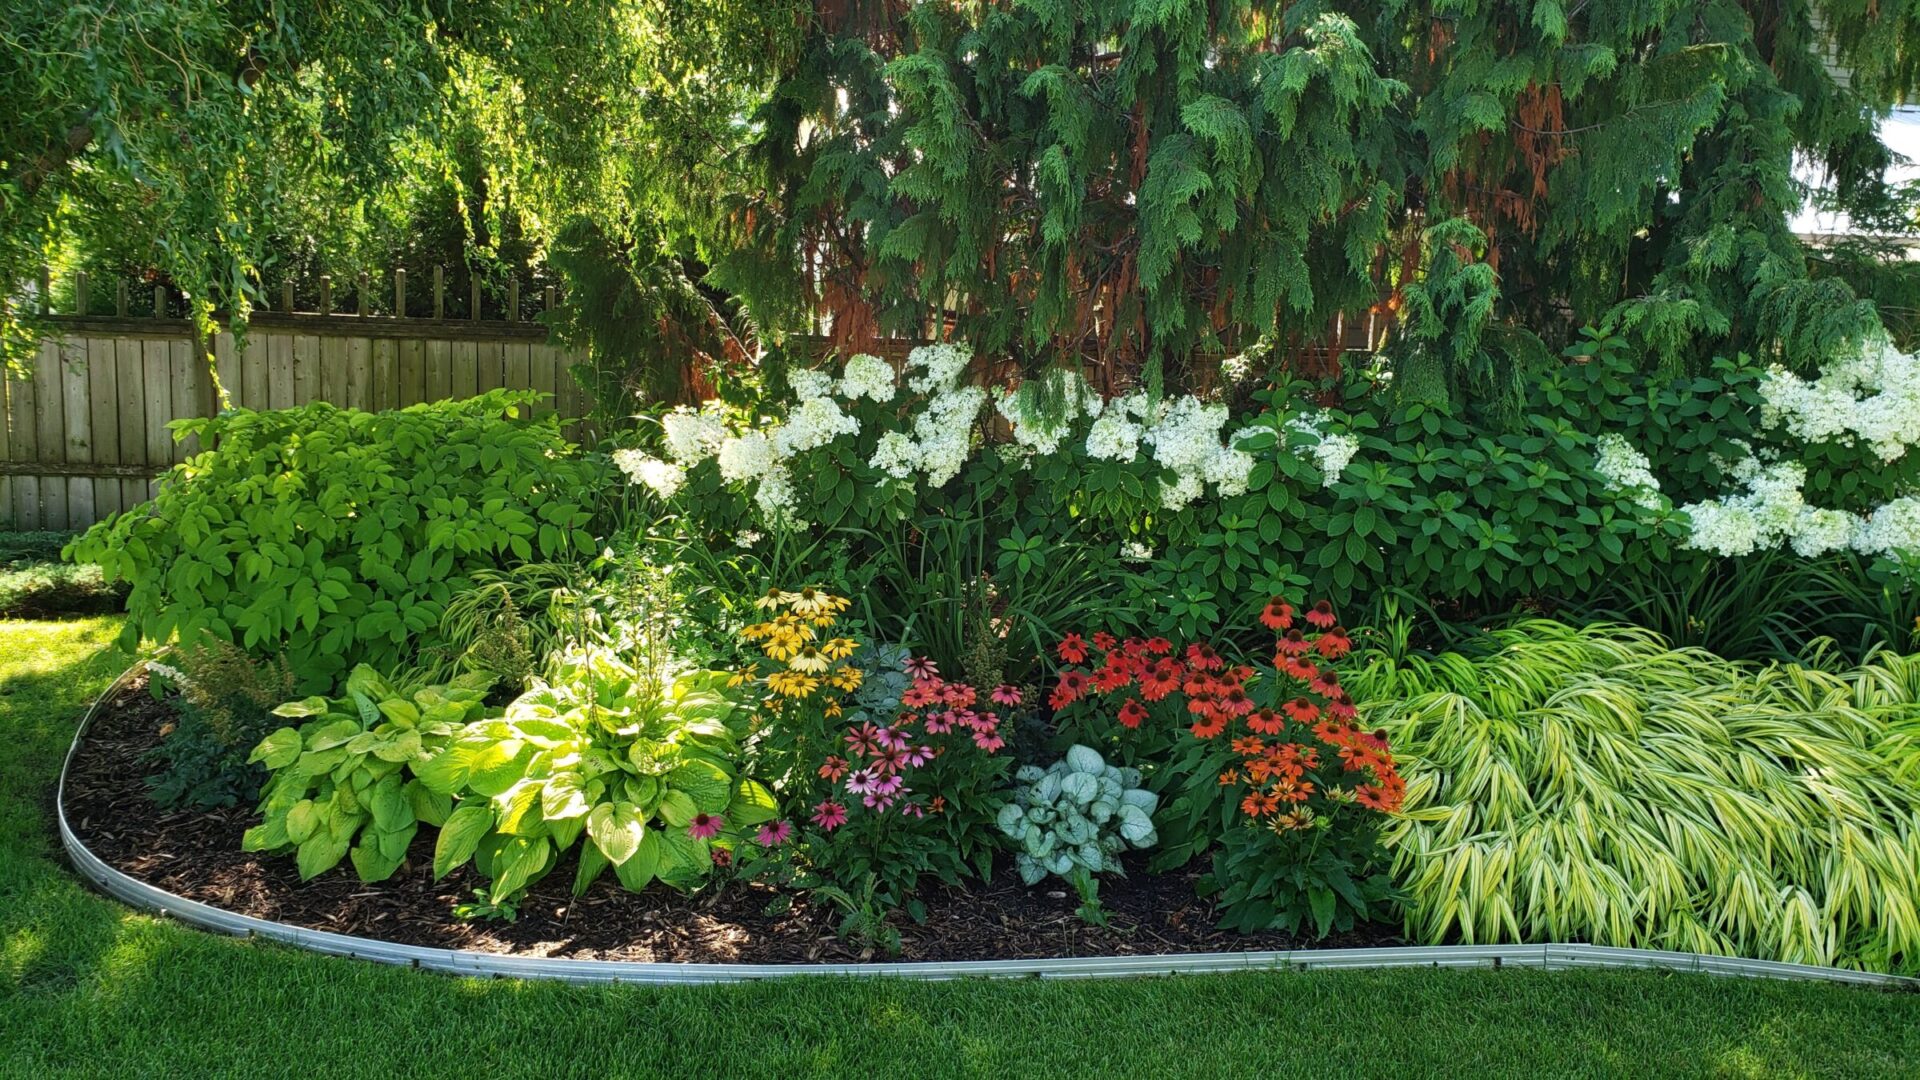
Planting design brings life and character to your landscape plan. A layered planting approach creates visual interest while supporting ecological balance. Think of plants in three layers:
- Trees for height and structure
- Shrubs for shape and seasonal interest
- Perennials and grasses for texture and colour
Native species often perform best because they are adapted to local climate and soil conditions. Many also support pollinators and beneficial insects. Healthy plant communities naturally reduce pest pressure. Diverse planting discourages the spread of harmful insects and encourages natural predators.
Organic landscape care relies on these natural relationships. Compost, natural mulch, and healthy soil create conditions where plants remain resilient without harsh sprays. This approach reflects what is at the heart of sustainable landscape design. The goal is to create outdoor spaces that support both human enjoyment and environmental health. When you incorporate layered planting into how to draw landscape design plans, the result is a landscape that grows stronger over time. For more ideas on plant layering and garden structure, explore our Softscaping services.
Step 9: Choose Materials That Support Infiltration And Maintenance
Material choices influence both environmental performance and long-term maintenance. Hard surfaces such as patios, walkways, and driveways should allow water to move through the landscape rather than rushing away. Permeable materials are excellent options. These include:
- Natural stone with open joints
- Gravel pathways
- Permeable pavers
- Wood decking raised slightly above grade
These materials allow rainwater to soak into the soil, supporting groundwater recharge. Maintenance also becomes easier when materials age naturally. Stone, wood, and gravel often blend well with surrounding plants and require fewer chemical treatments. Organic landscaping practices favour natural materials because they work with soil systems instead of sealing them. When selecting materials, consider durability, drainage behaviour, and visual harmony with the surrounding landscape.
Step 10: Sanity-Check The Plan For Build Sequence
Before finalizing your drawing, take a moment to review the build sequence. Landscapes develop in stages. Certain elements should appear earlier so that later features fit smoothly into the design. Start by confirming grading and drainage work. These adjustments create the foundation for everything else.
Next, review structural elements such as terraces, steps, and large features. These components shape the main layout of the landscape. Planting usually comes later, after the main structural elements are in place. Reviewing the build sequence helps ensure your design plan is practical and easier to carry out. Clear planning prevents unnecessary rework and ensures each stage supports the next.
Bringing Your Landscape Plan Together
Designing a complex property takes patience and observation. By walking the site, understanding soil and water movement, and mapping activity zones, you begin to see how your land functions. Learning how to draw landscape design plans can be simple, as sketches and notes often reveal practical solutions that help create landscapes that manage water well, support healthy plants, and remain comfortable to use throughout the seasons.
If you would like professional guidance while developing your landscape plan, you can request a consultation.
Summary
Learning how to draw landscape design plans starts with understanding your land. Walk the site, observe sunlight and water patterns, map activity zones, and place major features before planting. By following these steps, you can create a thoughtful landscape plan that supports healthy soil, balanced water movement, and enjoyable outdoor spaces.